Plants, like little animals, need a new home as they grow! How to repot and transplant for beginners? Learn with these simple steps:
In addition to purifying the air and adding greenery, plants, if paired appropriately, can also be stylish accessories for home decor.
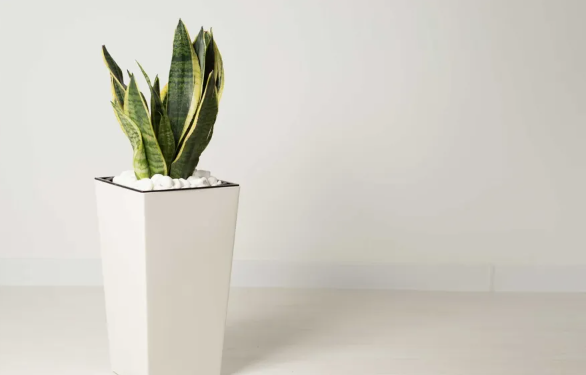
“Green Moments in Life” suggests that each plant has its own unique shape. It’s recommended to consider the plant’s appearance and match it with the room’s style when choosing suitable flower pots. This not only enhances the plant’s inherent charm but also elevates the overall decor quality.
Overall coordination is crucial! Here are four common pot combinations to present different aesthetic feelings:
- Rhombus: When the branches and leaves spread left and right, such as with foliage plants, it’s suitable to pair them with small and neat flower pots. This creates a rhombus appearance with angles on all sides, highlighting the plant’s shape and presenting a sleek feeling.
- Inverted trapezoid: For plants that stretch upwards, such as ferns, it’s suggested to match them with heavy, sturdy pots to present an inverted trapezoid shape, giving a refreshing sensation.
- Waistline shape: Some plants have leaves concentrated at the top, like banyan trees, with fewer branches and leaves in the middle. To maintain overall balance, it’s recommended to choose pots similar in size to the top area so as not to appear top-heavy. This also presents an elegant and slender feeling.
- Low center of gravity shape: For plants with small leaf shapes and upward-growing branches, such as kumquats, simple and low center of gravity pots are suitable. This avoids excessive decoration and allows the focus to remain on the branches and leaves, creating a lovely atmosphere.
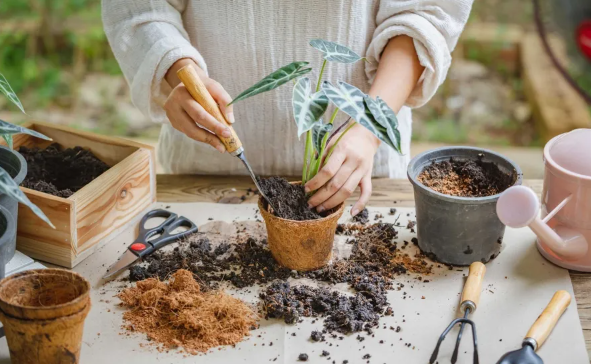
Roots showing from the soil surface? Here are 10 steps to repotting and nurturing small plants to health:
Caring for plants is like caring for small animals; as they grow, they need larger pots to provide enough space for growth. When the roots of a plant start to emerge from the soil surface, it’s usually time to repot. Additionally, soil is an essential source of nutrients for plant growth. During the repotting process, timely soil replenishment and replacement are necessary to supplement the plant’s nutrients.
Step 1. Place a mesh at the bottom of the pot: There are drainage holes at the bottom of the pot. Cut the mesh to fit the bottom of the pot, which can prevent excessive drainage and loss of fertilizer and soil.
Step 2. Add an appropriate amount of bottom stones: Fill the bottom of the pot with bottom stones to improve drainage and prevent waterlogging, which can cause root rot.
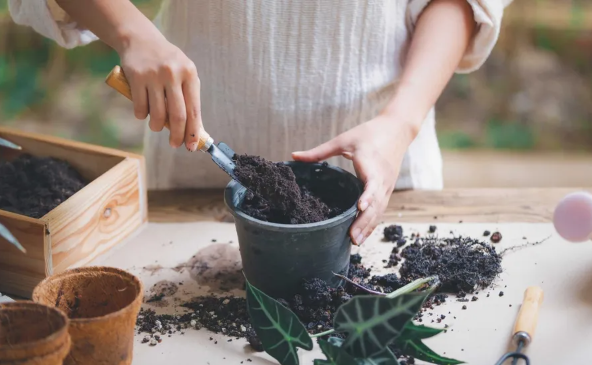
Step 3. Add soil: Fill the pot with soil until the bottom stones are no longer visible, remembering to leave space for the plant.
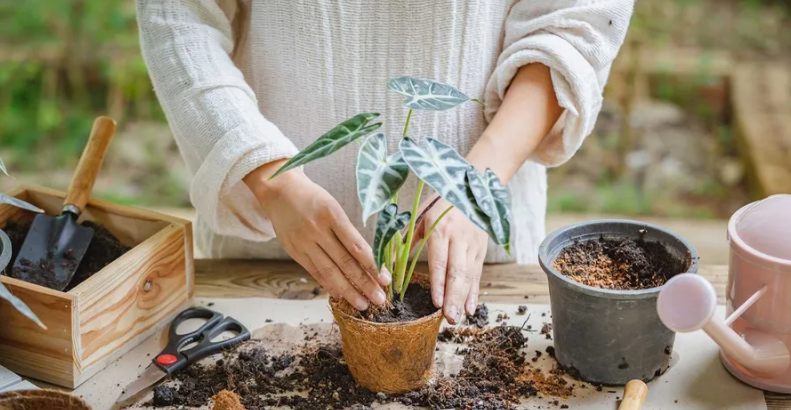
Step 4. Remove the plant from the old pot: Take out the plant along with the surrounding soil. If the soil is too wet and difficult to remove, you can gently twist the pot or use tools to loosen the soil, being careful not to damage the plant roots.
Step 5. Place the removed plant into the new pot: Confirm the height and direction of placement, ensuring that the roots and the surface of the old soil are positioned about 1-2 centimeters below the rim of the pot.
Step 6. Fill in the gaps with soil: With one hand holding the plant upright, use a trowel in the other hand to fill the gaps between the plant and the pot with soil. This ensures that the plant remains upright after the soil is filled in.
Step 7. Fill the gaps between the soil and the pot with a stick: To avoid damaging the plant roots, refrain from using a trowel and instead use disposable chopsticks or a thin stick to push the soil downwards, compacting it until there are no gaps.
Step 8. Tap the pot: To compact the soil further, gently tap the bottom of the pot to allow the soil to settle deeper into the pot.
Step 9. Secure the roots: For added stability, press down on the soil surface with your fingers. If the soil level significantly decreases, add more soil as needed.
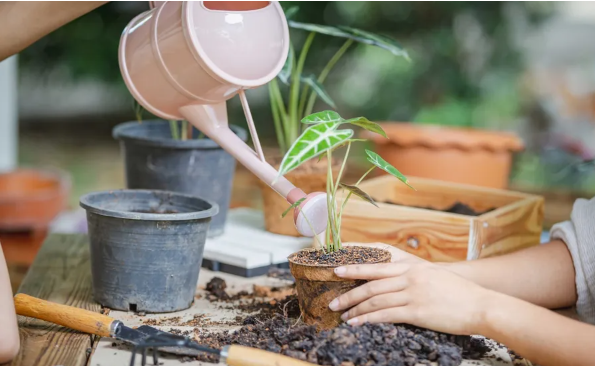
Step 10. Water generously: Finally, water the plant generously until water flows out from the bottom of the pot. Remember to discard any excess water from the saucer.