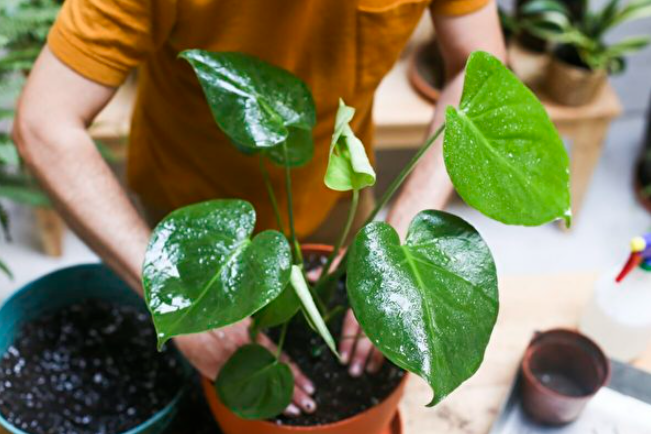
Even without being a gardening expert, you can repot potted plants in just 15 minutes.
Taking care of plants for lush growth is a science, and knowing when (and, more importantly, how) to repot is another aspect of indoor gardening knowledge. Of course, you need the right gardening tools, but in reality, you don’t necessarily have to be a gardening expert to repot potted plants that you’ve worked hard to grow.
Even the most stubborn indoor plants can be repotted in 15 minutes. We hope that through our operational guide, your beloved indoor plants will thrive. This guide provides detailed instructions on how to repot easily (and not messily).
Required Indoor Gardening Tools:
- One flowerpot (preferably about 2 inches larger than your current pot)
- Sharp scissors or pruning shears
- Fresh potting soil
- An old bedsheet
Timing for Repotting:
Seeing the roots of the plant is a sign that it needs repotting. Once the plant’s roots emerge at the soil surface (or from the drainage holes at the bottom of the pot), it’s time to prepare your gardening tools.
According to Master, “This is a sign that root growth is restricted and needs more space.”
Another clue that a plant needs repotting is when water quickly flows out of the drainage holes when watering. According to Master, this indicates that the roots have filled the pot, causing an imbalance in the ratio of soil to roots.
Find a suitable area.
If space in your residence is limited, choose an open area like a basement or outdoor patio. Soil spillage is inevitable, which is why Master recommends laying an old bedsheet instead of newspaper—it’s easier to tidy up the potting debris and trimmed plant leaves.
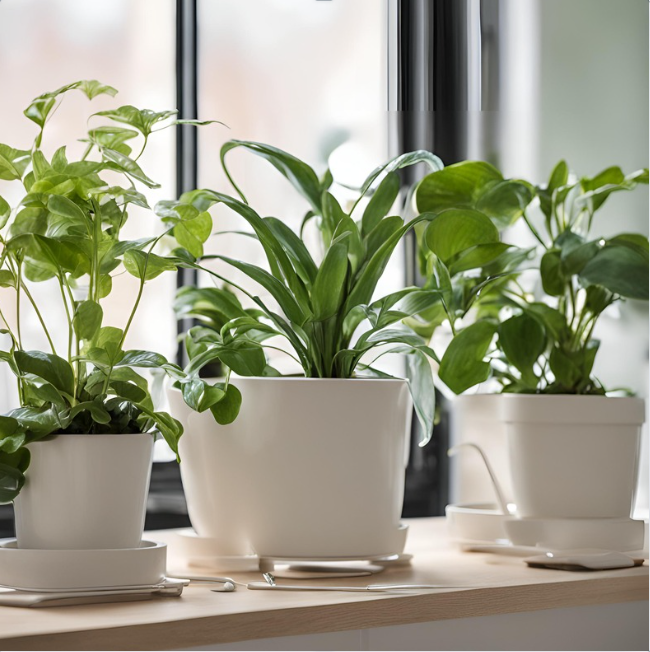
Choose the right flowerpot.
When selecting a new flowerpot, choose one that is about 2 inches larger in diameter than the original pot. If your new pot is more than 2 inches larger, the plant may suffer because excess soil can make the plant too moist and damage the roots. Remember to choose a pot with sufficient drainage holes and also to place a saucer under the pot.
When discussing common indoor gardening mistakes, Master says, “Planting in pots without a drainage system makes it easier for plants to rot and die due to overwatering.”
Add fresh potting soil mixed with fertilizer.
Once you’ve chosen your flowerpot, fill it one-third full with fresh potting soil. To do this, slide the plant out of its previous container and gently shake the plant to loosen the roots. Trim off dead, mushy, discolored, or excessively long roots with sharp scissors or pruning shears. Master advises wiping the blade with alcohol after each cut.
Secure the plant.
Next, place the plant in the center of the new pot, ensuring that the root ball (soil and roots) sits 1 inch below the top of the pot. Fill the pot with soil, firming the soil around the roots, leaving 1 to 2 inches of space between the soil and the pot’s edge.
Master says, “This is to prevent water from overflowing the pot when watering the plant.”
Water the plant.
Finally, water your plant thoroughly—meaning, water until it seeps out from the bottom of the pot. Then let the plant “rest” to allow all the water to drain from the new pot before placing the pot on a new saucer. If water begins to pool on the saucer, move the plant away from the saucer for a few minutes to allow for proper drainage.